Step by step guide how to add a venue parent listing
Take a look at these step by step instructions which take you through adding a venue parent listing to your account.
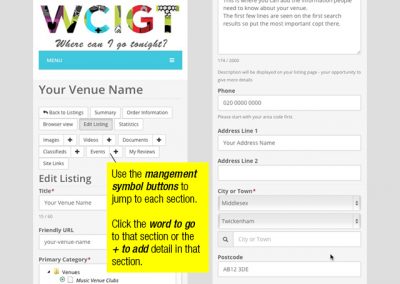
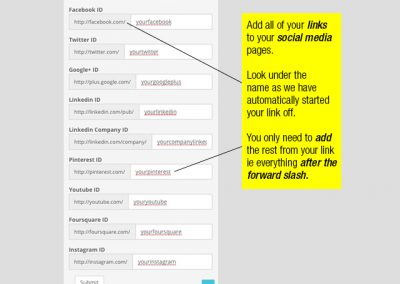
Hover over the image and click to enlarge to see annotated images showing how to fill in, edit, add detail and links.
Tips on how to understand the listing management tools, and how get the most out of a listing on wcigt.com
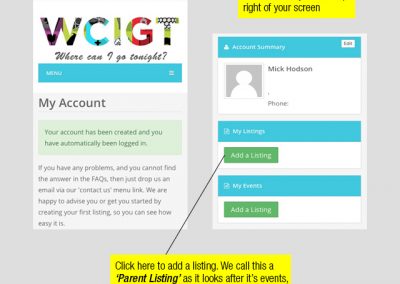
How to add a parent listing as a venue member – Step 1
The first step as a member is to create a Parent Listing. All events have to belong to their parent. Hover over the image and click to enlarge to full size.
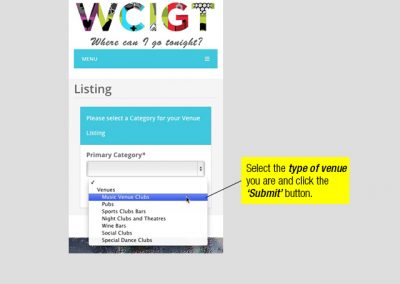
How to add a parent listing as a venue member – Step 2
Select the type of venue or performer you are. Hover over the image and click to enlarge to full size.
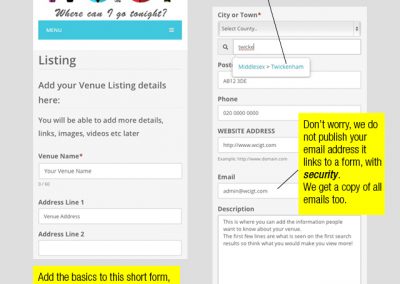
How to add a parent listing as a venue member – Step 3
Fill in the form with basic details to start a listing. This can be re visited to add detail and links. Hover over the image and click to enlarge to full size.
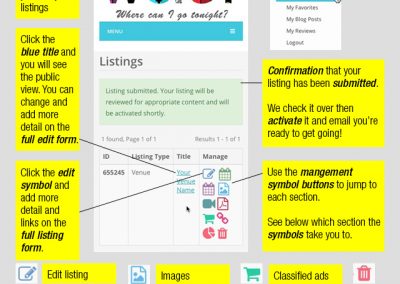
How to add a parent listing as a venue member – Step 4
My account menu and symbols explained. Hover over the image and click to enlarge to full size.
How to add a parent listing as a venue member – Step 5
Step 5 and 6 – Open your listing to edit and add more detail. Hover over the image and click to enlarge to full size.

